How To Resolve Philips Hue Bridge Not Connecting To Router?
Your Philips Hue Bridge connects your smart lights to your home network. It is the brain of your entire Hue lighting system. So when the Bridge refuses to connect to your router, everything stops working. You cannot control your lights through the app. You cannot use voice commands with Alexa or Google Home. Your automations and schedules go dark.
This problem is more common than you might think. A loose Ethernet cable, a wrong router setting, or even outdated firmware can break the connection between your Hue Bridge and router. The good news is that most of these issues have simple fixes you can handle at home in just a few minutes.
This guide covers every possible reason your Philips Hue Bridge is not connecting to your router. You will find clear, step by step solutions for each cause. Whether you just moved to a new home, changed your internet provider, or woke up to a blinking Bridge with no connection, this post will help you get your smart lights back online fast.
Key Takeaways
- Check your Ethernet cable first because the Philips Hue Bridge connects to your router through a wired Ethernet connection, not Wi-Fi. A loose or damaged cable is one of the most common causes of connection failure.
- The three LED lights on your Hue Bridge tell you exactly what is wrong. The left light shows power status, the middle light shows network connection, and the right light shows internet access. A blinking or unlit middle light means the Bridge cannot reach your router.
- DHCP must be enabled on your router for the Bridge to receive an IP address automatically. Without this setting turned on, the Bridge cannot join your local network.
- Your phone and the Hue Bridge must be on the same network for the Hue app to detect and communicate with the Bridge. If your phone is on a 5 GHz Wi-Fi band and the Bridge is on a different subnet, pairing will fail.
- A factory reset should be your last resort because it erases all your saved rooms, lights, scenes, and routines. Try every other fix in this guide before you reset the Bridge.
- Firmware updates are essential. Philips has confirmed that the third indicator light on the Bridge will not turn on if the software is outdated. Keeping your Bridge updated prevents many connection problems.
Understanding the Philips Hue Bridge and How It Connects
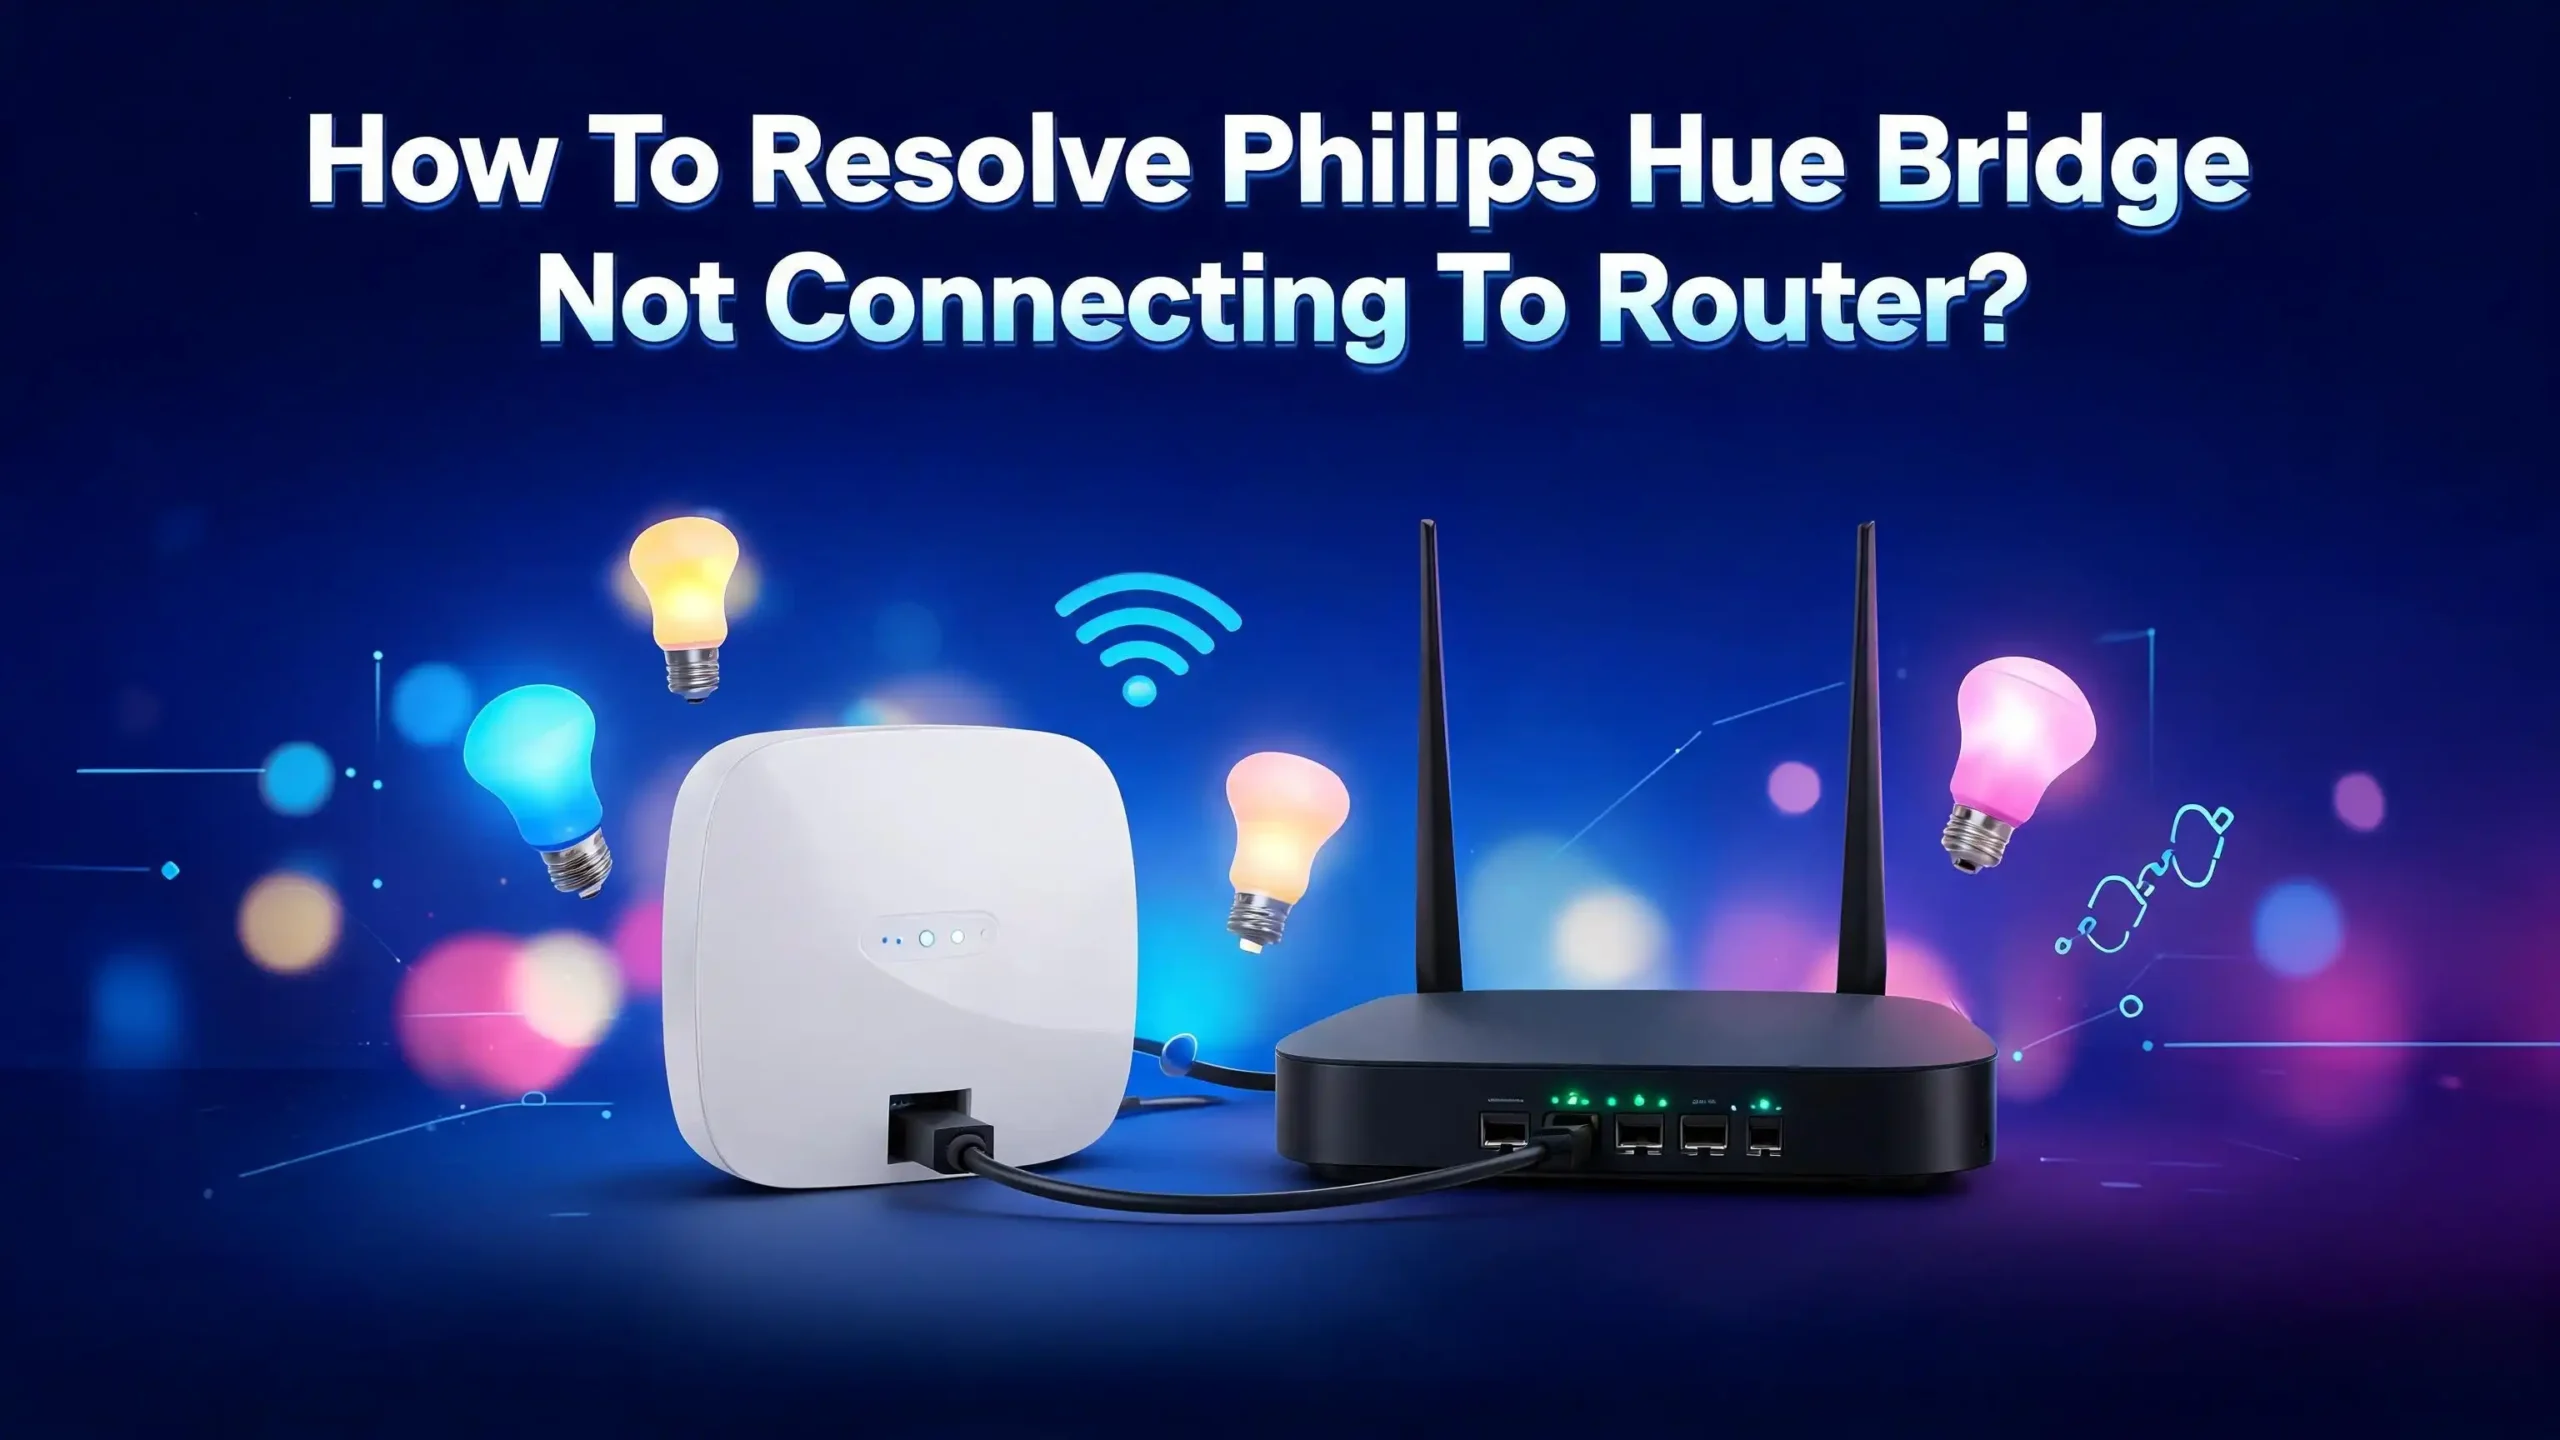
The Philips Hue Bridge is a small device that acts as the central hub for your Hue smart lighting system. It uses Zigbee wireless protocol to communicate with your Hue bulbs and a wired Ethernet connection to communicate with your router. This is an important detail many people overlook.
The Bridge does not connect to your router through Wi-Fi. It requires a physical Ethernet cable plugged directly into one of your router’s LAN ports. Your phone, however, connects to the Bridge through your Wi-Fi network. The Hue app on your phone sends commands over Wi-Fi to the router, which then passes those commands to the Bridge through the Ethernet cable.
This setup means there are two separate connections that must work properly. The first is the wired link between the Bridge and the router. The second is the wireless link between your phone and the router. If either connection breaks, your Hue system will stop responding.
The Bridge also connects to the Philips Hue cloud servers through your internet connection. This cloud connection allows you to control your lights remotely when you are away from home and enables integrations with smart assistants like Amazon Alexa, Apple HomeKit, and Google Home.
What the LED Lights on Your Hue Bridge Mean
Your Philips Hue Bridge has four indicator lights on its top surface. Each one tells you something specific about the device’s connection status. Learning what these lights mean will save you a lot of guesswork during troubleshooting.
The first light on the far left indicates power. If this light is solid, the Bridge is receiving power from its adapter. If this light is off, the Bridge has no power at all. Check your power adapter and electrical outlet.
The second light in the middle indicates your local network connection. A solid light here means the Bridge is successfully connected to your router through the Ethernet cable. If this light is blinking, the Bridge is trying to establish a connection but has not succeeded yet. If it is off, there is no network connection at all.
The third light on the right indicates your internet and cloud connection. This light confirms the Bridge can reach the Philips Hue servers online. If this light blinks or stays off while the middle light is solid, the Bridge is on your network but cannot access the internet.
The round light around the center button indicates Zigbee communication is active. This is the signal the Bridge uses to talk to your light bulbs. Pay close attention to the middle light during troubleshooting because it directly reflects the connection between the Bridge and your router.
Check Your Ethernet Cable and Router Ports
The most basic and often overlooked cause of a Hue Bridge not connecting to a router is a faulty or loose Ethernet cable. Since the Bridge relies entirely on a wired connection, even a slightly loose plug can break the link.
Start by unplugging the Ethernet cable from both the Bridge and the router. Inspect the cable for any visible damage, bends, or worn connectors. Plug the cable back in firmly on both ends. You should hear a click when the connector seats properly in the port.
If the cable looks fine, try plugging it into a different LAN port on your router. Routers typically have four or more Ethernet ports, and individual ports can fail over time. Switching to another port is a quick way to rule out a hardware issue.
You should also try using a completely different Ethernet cable if you have one available. Cables can develop internal breaks that are invisible from the outside. A fresh cable eliminates this possibility entirely.
Avoid connecting the Bridge through network switches, powerline adapters, or Ethernet extenders if possible. These devices can introduce latency or compatibility issues. For the most reliable connection, plug the Bridge directly into a primary LAN port on your main router.
Restart Your Router and Hue Bridge
A simple restart fixes a surprising number of connection problems. Both your router and Hue Bridge store temporary network data that can become corrupted or outdated. Restarting both devices clears this data and forces them to establish a fresh connection.
Unplug your Hue Bridge from its power adapter. Then unplug your router from its power source. Wait for at least 30 seconds before plugging anything back in. This waiting period allows all stored network data to fully clear from memory.
Plug your router back in first and wait for it to fully boot up. Most routers take between one and three minutes to complete their startup process. You will know it is ready when all its indicator lights stop blinking and become solid.
Now plug your Hue Bridge back in. Watch its indicator lights carefully. The power light should come on immediately. The network light should turn solid within a minute or two as the Bridge connects to your router. The internet light should follow shortly after.
This process is called a power cycle, and it resolves many temporary glitches in network communication. Make this your first troubleshooting step every time you experience connection issues. It takes less than five minutes and works more often than you would expect.
Enable DHCP on Your Router
DHCP stands for Dynamic Host Configuration Protocol. It is a router setting that automatically assigns IP addresses to every device that connects to your network. Your Hue Bridge needs an IP address to communicate with your router, and DHCP is how it gets one.
If DHCP is disabled on your router, the Bridge will plug in and power up but will never receive an IP address. Without an IP address, the Bridge cannot join your network. The middle LED light will either blink continuously or stay off.
To check this setting, log into your router’s admin page. You can usually access this by typing your router’s IP address into a web browser. Common addresses include 192.168.1.1 or 192.168.0.1. The login credentials are often printed on a sticker on the back or bottom of your router.
Once logged in, look for a section labeled LAN Settings, Network Settings, or DHCP Server. Make sure the DHCP server is turned on. If it was off, enable it, save your settings, and restart your router.
After the router restarts, unplug your Hue Bridge and plug it back in. The Bridge should now receive an IP address automatically and connect to your network. You can verify this by checking your router’s connected devices list for a device named “Philips Hue” or matching the MAC address printed on the bottom of your Bridge.
Make Sure Your Phone Is on the Same Network
A frequently missed cause of Hue Bridge connection problems is a network mismatch between your phone and the Bridge. The Hue app can only detect and control the Bridge when both devices are on the exact same local network.
Most modern routers broadcast two Wi-Fi bands: 2.4 GHz and 5 GHz. Some routers give these bands different network names, while others combine them under one name and switch your phone between bands automatically. The Hue Bridge connects through Ethernet to your router’s local network, but your phone must be on the same router’s Wi-Fi to find it.
If your phone is connected to a different router, a guest network, or a Wi-Fi extender that creates its own subnet, the Hue app will not detect the Bridge. Open your phone’s Wi-Fi settings and make sure you are connected to your main home network.
Some users have solved this problem by temporarily switching their phone to the 2.4 GHz band during setup. While the Bridge itself uses Ethernet and not Wi-Fi, certain router configurations can isolate devices across bands. If your router lets you connect to the 2.4 GHz and 5 GHz networks separately, try the 2.4 GHz option while pairing.
Also check if your router has AP isolation or client isolation enabled. This security feature prevents devices on the same network from communicating with each other. It is useful for guest networks but will block the Hue app from reaching the Bridge. Disable this feature on your primary network.
Update Your Hue Bridge Firmware
Philips has stated that the third indicator light on the Bridge will not turn on if the Bridge is running outdated firmware. Outdated software can also cause general connection instability and prevent the Bridge from communicating properly with your router.
To update your Hue Bridge firmware, open the Philips Hue app on your phone. Go to Settings, then tap Software update. If an update is available, the app will prompt you to install it. Follow the on screen instructions carefully.
The update process may take several minutes. Do not unplug the Bridge or close the app during the update. Interrupting a firmware update can corrupt the Bridge’s software and create even bigger problems.
If the Hue app cannot detect the Bridge at all, you may need to find the Bridge’s IP address manually. Check your router’s admin page for a device named “Philips Hue” or use a network scanner app like Fing on your phone. Once you have the IP address, enter it manually in the Hue app during setup by tapping “I need help” and then “More options”.
After the update completes, restart the Bridge by unplugging it for 10 seconds and plugging it back in. All three indicator lights should now turn solid, confirming that the Bridge is connected to power, your network, and the Philips Hue cloud.
Assign a Static IP Address to the Bridge
Sometimes the Hue Bridge loses its connection because your router assigns it a new IP address each time it reconnects. This can cause conflicts or confusion on the network, especially if you have many connected devices.
A static IP address is a fixed address that your router reserves specifically for the Bridge. It ensures the Bridge always has the same address on your network, which prevents DHCP conflicts and makes the connection more stable.
To set a static IP, log into your router’s admin page and find the section for DHCP reservations or static IP assignments. You will need the MAC address of your Hue Bridge, which is printed on a label on the bottom of the device.
Enter the MAC address and choose an IP address that falls within your network range but outside the DHCP pool. For example, if your router assigns DHCP addresses from 192.168.1.100 to 192.168.1.200, you could assign the Bridge a static address like 192.168.1.50. Save the settings and restart your router.
After the router restarts, unplug the Hue Bridge and plug it back in. It should now connect using its reserved IP address. This fix is especially helpful for users who experience intermittent disconnections where the Bridge works for a while and then drops off the network repeatedly.
Check for Router Firewall and Security Settings
Your router’s firewall or security features can sometimes block the Hue Bridge from connecting properly. While firewalls protect your network from unwanted traffic, overly strict settings can prevent legitimate devices from communicating.
Log into your router’s admin page and look for firewall settings, access control lists, or MAC address filtering. If MAC address filtering is enabled, your router only allows specific devices to connect. You must add the Hue Bridge’s MAC address to the allowed list for it to join the network.
Some routers also have a feature called UPnP (Universal Plug and Play). The Hue Bridge uses UPnP to discover and communicate with devices on your network. If UPnP is disabled, the Bridge may connect to the router but fail to work properly with the Hue app. Enable UPnP in your router settings if it is turned off.
DNS settings can also cause problems. If your router uses a custom DNS server that is slow or unreliable, the Bridge may struggle to reach the Philips Hue cloud. Try switching your router’s DNS to a public option like Google DNS (8.8.8.8) or Cloudflare DNS (1.1.1.1).
After making any changes to your firewall or security settings, restart both your router and the Hue Bridge. Then open the Hue app and check if the Bridge appears and connects successfully.
Try a Different Router or Direct Connection Test
If none of the previous steps have worked, the problem might be with your specific router. Some router models have known compatibility issues with IoT devices like the Hue Bridge. Testing with a different router can help you confirm or rule out this possibility.
If you have access to a second router or a mobile hotspot with an Ethernet port, try connecting the Hue Bridge to it temporarily. If the Bridge connects immediately to the alternate router, you know the issue lies with your primary router’s settings or hardware.
You can also try connecting the Bridge directly to your modem if your modem has an available Ethernet port. This bypasses the router entirely and tests whether the Bridge itself is functioning correctly. If the Bridge’s network light turns solid when connected directly to the modem, your router is the source of the problem.
In cases where your router is confirmed to be the issue, consider updating your router’s firmware. Manufacturers release firmware updates that fix bugs and improve compatibility with various devices. Check your router manufacturer’s website for available updates.
If your router is very old, it may lack support for modern network standards. A router that is more than five or six years old could have difficulty handling the number of smart devices on a modern home network. Upgrading your router may be the most effective long term solution in this situation.
Reinstall the Philips Hue App
Sometimes the problem is not with the Bridge or the router at all. A corrupted or outdated Hue app on your phone can prevent proper communication with the Bridge. Reinstalling the app gives you a clean start.
First, delete the Philips Hue app from your phone. On iPhone, press and hold the app icon, then select Remove App. On Android, go to Settings, then Apps, find Philips Hue, and tap Uninstall.
Next, restart your phone. This clears any cached data the old app may have left behind. After your phone restarts, go to the App Store or Google Play Store and download the latest version of the Philips Hue app.
Open the freshly installed app and follow the setup prompts. The app will search for your Bridge on the local network. When it finds the Bridge, it will ask you to press the link button on top of the Bridge to pair them. Press the button within 30 seconds of the prompt.
Many users on community forums have reported that simply reinstalling the app resolved their connection issues completely. This fix is quick, free, and does not affect any settings stored on the Bridge itself. Your rooms, scenes, and light configurations remain intact on the Bridge hardware. The app just needs to rediscover and sync with them.
Factory Reset the Hue Bridge as a Last Resort
A factory reset returns your Hue Bridge to its original out of the box state. This erases all saved data including your rooms, light assignments, scenes, routines, and smart assistant links. Only perform this step after you have tried every other solution in this guide.
To reset your Bridge, flip it over and locate the small recessed button on the back. It is near the label that reads “Restore factory settings.” Use a paperclip or SIM eject tool to press and hold this button for five to ten seconds.
The LED lights on the front of the Bridge will start blinking to confirm the reset process has begun. Wait until the blinking stops and all three lights become solid. This indicates the reset is complete and the Bridge is ready for a fresh setup.
Before resetting, Philips recommends removing the Bridge from your Hue account first. Open the Hue app, go to Settings, then Hue Bridges, select your Bridge, and tap Remove. This step ensures the Bridge is cleanly unlinked from your account.
After the reset, plug the Ethernet cable back in and open the Hue app to set up the Bridge from scratch. You will need to re-add all your lights, recreate your rooms, and reconfigure your smart assistant integrations. While this process takes time, a factory reset often resolves deep rooted connection issues that no other fix can address.
Contact Philips Hue Support for Hardware Issues
If you have worked through every step in this guide and your Hue Bridge still will not connect to your router, you may be dealing with a hardware defect. Electronic components can fail over time, and the Bridge’s Ethernet port or internal circuit board may have developed a fault.
Visit the Philips Hue support website and use their troubleshooting tool or live chat feature to describe your issue. Provide them with your Bridge’s serial number and model number, both of which are printed on the bottom of the device. This information helps the support team identify your product quickly.
If your Bridge is still under warranty, Philips may offer a replacement at no cost. The standard warranty period varies by region, so check your purchase receipt and local consumer protection laws.
You can also check community forums like Reddit’s r/Hue for advice from other users who have experienced similar hardware issues. Community members often share creative solutions and workarounds that official support may not cover.
Before reaching out to support, document everything you have tried. Make a list of every troubleshooting step you performed, including the results. This saves time during the support interaction and shows the representative that you have already eliminated common causes.
Prevent Future Connection Problems
Once your Hue Bridge is back online, take a few steps to prevent future disconnections. A little proactive maintenance goes a long way in keeping your smart lighting system reliable.
Keep your Bridge firmware updated by enabling automatic updates in the Hue app. Go to Settings, then Software update, and turn on Automatic update. This ensures the Bridge always runs the latest software with bug fixes and security patches.
Assign a static IP address to the Bridge in your router settings. As discussed earlier, this prevents the Bridge from losing its address during DHCP renewals and keeps the connection stable over time.
Place your Hue Bridge in a well ventilated area away from heat sources. Electronic devices can overheat and malfunction if they are enclosed in a cabinet or stacked under other equipment. Keep the Bridge in an open space with good airflow.
Use a surge protector for both your router and Hue Bridge. Power surges from storms or electrical fluctuations can damage sensitive electronics. A basic surge protector adds an affordable layer of protection.
Finally, restart your router and Bridge once a month as a preventive measure. This clears accumulated network data and refreshes all connections. Think of it as routine maintenance that keeps your entire smart home running smoothly.
Frequently Asked Questions
Why does my Philips Hue Bridge keep disconnecting from the router?
Repeated disconnections usually point to a DHCP conflict or an unstable Ethernet connection. Your router may be assigning different IP addresses to the Bridge each time it reconnects. Setting a static IP address in your router’s admin panel can fix this. Also check for a loose or damaged Ethernet cable and make sure the Bridge is plugged into a primary LAN port on your router.
Can the Philips Hue Bridge connect to a router wirelessly?
No. The Philips Hue Bridge requires a wired Ethernet connection to your router. It does not have Wi-Fi capability for its primary network connection. The Bridge communicates with your Hue bulbs through Zigbee wireless protocol, but it must be physically plugged into your router with an Ethernet cable. There is no wireless alternative for this connection.
What does a blinking middle light on the Hue Bridge mean?
A blinking middle light means the Bridge is trying to connect to your router but has not succeeded. This usually indicates a problem with the Ethernet cable, the router port, or the DHCP settings on your router. Check the cable, try a different port, and confirm that DHCP is enabled in your router settings.
Will factory resetting my Hue Bridge delete all my lights and settings?
Yes. A factory reset erases everything stored on the Bridge. This includes your rooms, light assignments, scenes, schedules, routines, and smart assistant links. You will need to set up the entire system again from scratch after a reset. Only use this option after all other troubleshooting methods have failed.
Does the Philips Hue Bridge work with any router?
The Hue Bridge works with most standard home routers that have Ethernet ports and DHCP enabled. However, some enterprise grade routers, mesh systems with strict security settings, or very old routers may cause compatibility issues. If you suspect a router compatibility problem, try connecting the Bridge to a different router to test whether it works.
How do I find my Hue Bridge’s IP address?
You can find it by logging into your router’s admin page and checking the list of connected devices. Look for a device named “Philips Hue” or match the MAC address printed on the bottom of your Bridge. You can also use a free network scanner app like Fing on your phone, which will display all devices on your local network along with their IP addresses.