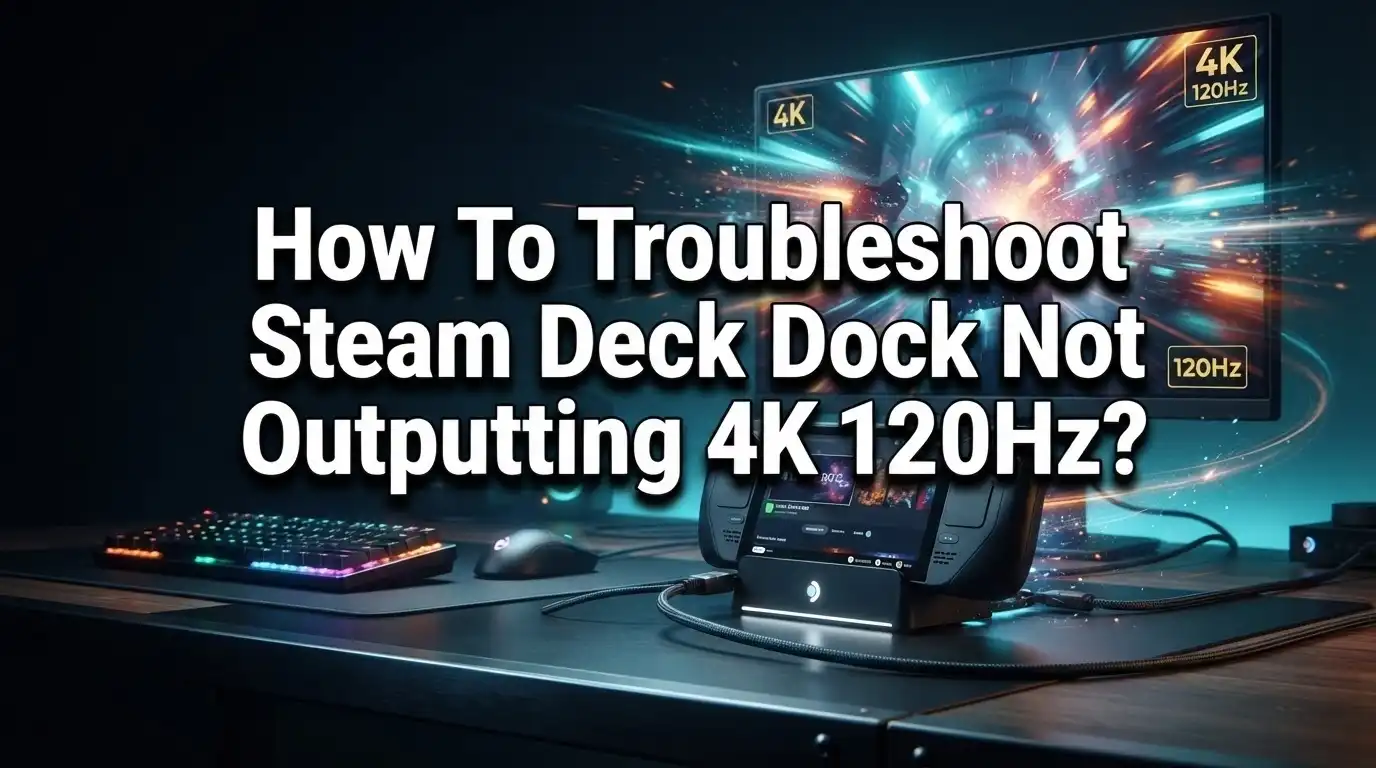
How To Troubleshoot Steam Deck Dock Not Outputting 4K 120Hz?
You just connected your Steam Deck to a dock. You plugged it into your 4K TV. But instead of smooth 120Hz gaming, you get a blank screen or a laggy picture.
This problem is more common than you think. Many Steam Deck owners face the same dock issue. The good news is that it’s usually fixable.
4K 120Hz output depends on several things working together. Your cable matters. Your dock settings matter. Even the order you plug things in matters.
In this guide, we will walk through every fix step by step. You will learn how to check your HDMI cable. You will find out why the power sequence matters so much.
In a Nutshell
- Check your cable first. You need an HDMI 2.1 cable to get 4K 120Hz. Older cables simply can’t handle that much data.
- Follow the power sequence carefully. Connect the dock to your TV, then plug in the Steam Deck, and add power last. This order matters more than people realize.
- Turn off HDMI-CEC. This setting causes signal conflicts between devices. Disabling it often solves random blackouts.
- Disable “skip when no signal” on your TV. Many monitors skip inputs that seem inactive. This feature confuses the dock’s output signal.
- Restart everything. Power cycle both the dock and your Steam Deck. A simple restart clears most temporary glitches.
- Try safe mode if problems continue. Boot your Steam Deck through developer settings. This helps you spot software related conflicts.
- Set resolution manually per game. Open game properties and adjust settings under “General.” Not every game defaults to 4K 120Hz automatically.
Understanding Why Your Steam Deck Dock Won’t Output 4K 120Hz
Your Steam Deck dock may fail to output 4K 120Hz for several reasons. Understanding these causes helps you fix the problem faster.
HDMI cable quality matters most. The dock requires an HDMI 2.1 cable to support 4K 120Hz signals. Older HDMI 1.4 or 2.0 cables cannot handle this bandwidth. Many people use standard cables without realizing they block high resolution output.
Power connection sequence affects signal detection. When you connect devices in the wrong order, your TV may not recognize the dock output. The dock needs power stabilization before your Steam Deck communicates with it.
Firmware conflicts can disable HDMI output. Recent dock firmware updates sometimes cause the HDMI port to stop working entirely. Your dock may need a restart to restore functionality after an update.
Device settings interfere with signal transmission. HDMI-CEC creates communication problems between your dock, TV, and Steam Deck. Your monitor’s “skip when no signal” feature also causes the dock to appear disconnected.
Safe mode reveals software conflicts. Your Steam Deck’s operating system may have settings preventing 4K 120Hz output. Booting into safe mode helps you identify whether software or hardware causes the issue.
Game settings override dock capabilities. Some games default to lower resolutions even when your dock supports 4K 120Hz. You must manually adjust each game’s resolution in its properties menu.
Monitor compatibility matters too. Your TV or monitor must support HDMI 2.1 and accept 4K 120Hz input. Older displays cannot display these signals regardless of your dock’s capabilities.
These factors work together. One problem alone might not prevent output, but multiple issues combined definitely will.
Checking Your Cables and Display Compatibility
Your HDMI cable is the first thing to check. HDMI 2.1 cables are required for 4K 120Hz output. Older HDMI 1.4 or 2.0 cables cannot handle this bandwidth. Look at your cable’s label or documentation to confirm the version.
Check your display next. Your TV or monitor must support 4K 120Hz input. Look in your display’s settings menu or manual to verify this capability. Some displays advertise 4K support but only handle 60Hz refresh rates. You need both 4K resolution AND 120Hz refresh rate together.
Inspect both cable ends for damage or bent pins. A bent connector pin stops signals from reaching your display. Gently examine the HDMI connectors on your cable, dock, and TV. Even small physical damage prevents proper signal transmission.
Try a different HDMI cable to test. Borrow another HDMI 2.1 cable if possible. This simple step tells you if your original cable is faulty. Swap the cable at both ends (dock side and TV side) to rule out connection points.
Test different HDMI ports on your display. Your TV may have multiple HDMI ports with different capabilities. Some ports support higher bandwidth than others. Check your display’s manual to find which port handles 4K 120Hz signals.
Verify your dock firmware is current. Outdated firmware sometimes causes output problems. Visit the manufacturer’s support page to check for updates. Follow their instructions to update your dock if needed.
These cable and display checks solve most 4K 120Hz output failures. Move forward only after confirming your cable, display, and connections are all compatible.
Step-by-Step Fix: Correct Power-On Sequence for Dock and Display
The power sequence you use when connecting your Steam Deck dock matters significantly. Many users experience 4K 120Hz failures simply because they plug things in the wrong order. Your display may not recognize the signal if the dock powers up before establishing a proper connection.
Here’s the correct sequence to follow. First, connect your dock to your TV or monitor using an HDMI 2.1 cable. Do not plug in the power adapter yet. Your dock stays unpowered at this stage.
Next, connect your Steam Deck to the dock. Insert the device into the dock connector until you hear a click. Wait a few seconds for the connection to establish properly.
Finally, plug the power adapter into the dock. This last step activates the dock and allows it to communicate with your display. The signal should now transmit correctly to your TV or monitor.
Why does this sequence work? When you power the dock first, it may initialize before your display is ready to receive the signal. This timing mismatch causes your TV to skip the input or fail to detect 4K 120Hz capability. By connecting physically first and powering last, you give your display time to recognize the dock as an available input source.
If you’ve been plugging everything in simultaneously or powering the dock first, try this sequence instead. Many users report that this simple change fixes their 4K 120Hz problems immediately. The dock and your display need to handshake in the correct order to negotiate the highest resolution and refresh rate available.
Adjusting Steam Deck Settings for Proper 4K 120Hz Output
Your Steam Deck has built in settings that control how it sends video signals to your dock. These settings directly affect whether your display receives 4K 120Hz output. Adjusting them correctly solves many output problems.
Start by accessing your Steam Deck’s display settings. Go to Settings, then select Display. Look for resolution options and refresh rate controls. Your Steam Deck may default to lower resolutions to save power. You need to manually increase these values to enable 4K 120Hz support.
Check the “Resolution” dropdown menu first. Select the highest resolution your display supports. Most modern displays handle 4K, but some older models do not. If you’re unsure, start with 1440p and increase gradually.
Next, find the refresh rate setting. This controls how many frames your display receives per second. Set it to 120Hz to match your dock’s capability. Lower refresh rates like 60Hz will not use your dock’s full potential.
Disable HDMI-CEC in your settings immediately. This feature allows devices to communicate with each other through HDMI. It often causes signal conflicts on Steam Deck docks. Go to Settings, then select HDMI-CEC and turn it off completely.
If your display has a “skip when no signal” option, disable that too. This setting makes your TV turn off if it briefly loses the video signal. During startup, your Steam Deck may pause briefly. Your display will turn off if this feature is active, breaking the connection.
Restart your Steam Deck after making these changes. The new settings take effect after a full restart. Test your 4K 120Hz output immediately to see if these adjustments worked.
Configuring Per-Game Resolution and Refresh Rate Settings
Each game on your Steam Deck can have its own resolution and refresh rate settings. This means you can optimize performance for specific titles without affecting your entire system setup.
To access per-game settings, launch Steam and find the game you want to configure. Right-click on the game title and select “Properties” from the menu. Look for the “General” tab where you’ll find video output options.
The resolution dropdown menu shows available options for that specific game. Select the highest resolution your display supports, typically 4K if your dock and monitor both handle it. Remember that higher resolutions demand more processing power from your Steam Deck.
The refresh rate setting appears near the resolution option. You can choose between 60Hz, 120Hz, or other available rates depending on your display capabilities. Setting this to 120Hz requires both your monitor and HDMI 2.1 cable to support it.
Some games perform better at lower resolutions with higher refresh rates, while others benefit from maximum resolution at 60Hz. Test different combinations to find what works best for each title.
After adjusting these settings, close the properties window and launch the game. Your Steam Deck will apply these configurations automatically. If the game doesn’t display correctly, return to properties and try different settings.
Per-game configuration prevents you from being locked into one resolution for all titles. A fast-paced action game might run better at 1440p 120Hz, while a story-driven game could use 4K 60Hz. This flexibility helps you get the best experience from each game in your library.
Advanced Fixes: Safe Mode, Firmware Updates, and Hard Resets
Safe mode isolates software problems that block your 4K 120Hz output. Your Steam Deck runs only essential system files in this mode, removing game conflicts and driver issues.
Access safe mode through your developer settings. First, open Settings on your Steam Deck. Navigate to System and select Developer. Toggle Developer Mode on. Return to Settings and find the new Developer option. Select it and choose “Safe Mode.” Restart your Steam Deck.
Once in safe mode, test your dock connection. Connect your HDMI 2.1 cable and power adapter using the correct sequence. Check if your display shows output. If you see a signal in safe mode, a game or app caused the problem. Exit safe mode and identify which game breaks your connection.
Firmware updates sometimes disable dock output unexpectedly. Check your dock’s firmware version in Settings under System. If an update occurred recently and your 4K 120Hz stopped working, the update likely caused the issue. Your Steam Deck may need a firmware rollback, though this requires technical steps.
Hard resets clear stuck system processes that prevent HDMI signals. Power off your Steam Deck completely. Hold the power button for 30 seconds. Release and power on normally. This forces your system to reinitialize all connections.
If safe mode works but normal mode fails, your issue stems from software conflicts rather than hardware problems. Uninstall recently added games or apps that coincided with the output failure.
These three fixes address software related failures. If none work, your dock hardware may need replacement or your HDMI cable requires testing with another device to confirm functionality.
Common Mistakes That Prevent 4K 120Hz Output
Most people make simple mistakes that stop their dock from outputting 4K 120Hz. Understanding these errors helps you fix the problem faster.
Using the wrong HDMI cable is the most common mistake. Your dock needs an HDMI 2.1 cable to support 4K 120Hz. Older HDMI 1.4 or 2.0 cables cannot handle this resolution and refresh rate combination. Check your cable specifications before troubleshooting anything else.
Connecting components in the wrong order causes signal failures. Many users plug the power adapter into the dock first, then connect the Steam Deck. This sequence confuses the dock’s output system. Instead, connect the dock to your HDMI display first, then connect your Steam Deck to the dock, and finally plug in the power adapter last.
Leaving HDMI-CEC enabled creates communication conflicts between devices. This feature lets your TV and dock send commands to each other through the HDMI connection. These signals can interfere with your 4K 120Hz output. Disable HDMI-CEC in your Steam Deck settings immediately.
Activating “skip when no signal” on your monitor prevents the dock from establishing a connection. Many displays have this power saving feature. When enabled, your monitor ignores the dock’s initial signal attempt. Disable this feature in your display’s menu settings.
Ignoring firmware updates leaves your dock running outdated software. Updates sometimes fix output problems, but they can also cause new issues. Check if your dock firmware needs updating through your Steam settings.
Not restarting after changes prevents settings from taking effect. Always restart your Steam Deck after adjusting display settings or making configuration changes.
When to Suspect a Firmware or Hardware Conflict
Firmware conflicts and hardware incompatibilities often cause 4K 120Hz output failures on your Steam Deck dock. You should suspect these issues when your dock stops working after a system update or when it never worked with specific cables.
Firmware updates can disable dock output unexpectedly. Your Steam Deck receives regular updates that sometimes conflict with dock communication. If your setup worked before and suddenly stopped, a recent update likely caused the problem. Check your system settings to see when the last update occurred.
Hardware conflicts happen when components don’t communicate properly. Your dock may have firmware different from your Steam Deck’s software version. These mismatches prevent the dock from recognizing your display or sending 4K 120Hz signals correctly.
Watch for these warning signs: Your dock works with one HDMI cable but not another. Your display connects to the dock but shows no signal. Your monitor detects the dock then loses connection repeatedly. These patterns indicate firmware or hardware conflicts rather than simple cable issues.
Test your setup in safe mode to isolate software problems. If your dock outputs 4K 120Hz in safe mode but fails in normal mode, software conflicts are responsible. This tells you the hardware works fine.
Check whether your dock needs a firmware update through the official channels. Outdated dock firmware creates compatibility issues with newer Steam Deck software versions. Updated firmware often fixes signal problems and resolution failures.
If safe mode works but normal mode fails, restart your Steam Deck completely. Hard power offs clear stuck processes that block HDMI communication. Hold the power button for 30 seconds to force a complete shutdown, then power on normally.
Final Thoughts
Getting your Steam Deck dock to output 4K 120Hz takes patience. Most problems come down to simple things like cables, settings, or connection order.
Start with the basics first. Check your HDMI cable and confirm it supports HDMI 2.1. Then work through the power sequence and CEC settings.
Small mistakes cause big problems. A wrong cable or bad connection order can block your signal completely. Fix these first before trying advanced solutions.
If basic fixes don’t work, move to safe mode testing. This step tells you if you’re dealing with software conflicts or actual hardware failures.
Firmware updates matter more than people think. Keep your dock updated and check for new releases regularly. An outdated firmware version often blocks 4K 120Hz output without any warning.
Remember to restart your devices after every change you make. Settings don’t always apply until you reboot the Steam Deck or dock.
Testing one variable at a time helps you find the real problem. Change one setting, restart, and check your output before moving to the next fix.
Most users solve their 4K 120Hz issues through these straightforward steps. You rarely need professional repair or replacement parts.
Keep a checklist handy for future troubleshooting. Cable type, power sequence, CEC settings, and firmware status cover most common failures.
If problems continue after trying everything here, your dock or Steam Deck might have a hardware issue. At that point, contact official support for further help.
Patience and method solve most dock problems. Work through each step calmly, test your results, and you’ll likely get your 4K 120Hz output working again soon.
Frequently Asked Questions
Why does my dock show no HDMI signal at all?
No signal usually means a connection problem. First, check that your HDMI cable supports HDMI 2.1 standards. Older cables cannot handle 4K 120Hz data.
Next, try this power sequence: Connect the dock to your TV or monitor first. Then plug in your Steam Deck. Finally, connect the power adapter. This order helps the dock establish a proper handshake with your display.
If you still see nothing, restart both devices. Power off your Steam Deck completely, wait 30 seconds, then turn it back on.
Can my monitor settings block the 4K 120Hz output?
Yes, absolutely. Many monitors have a feature called “skip when no signal” or “auto sleep mode.” This setting makes your display ignore the dock’s signal.
Check your monitor or TV menu. Look for input settings or power management options. Disable any feature that skips or ignores signals. This lets your display accept the connection from your dock.
Also verify that your display actually supports 4K 120Hz. Some older monitors max out at 4K 60Hz or lower resolutions.
Should I disable HDMI-CEC on my Steam Deck?
Yes, disabling HDMI-CEC often solves output problems. This feature lets devices communicate through HDMI, but it sometimes causes conflicts.
Go to your Steam Deck settings and find the HDMI-CEC option. Turn it off. Then restart your Steam Deck and dock. Many users report that this single step fixes their 4K 120Hz issues.
What does safe mode testing actually tell me?
Safe mode isolates software problems from hardware issues. Boot your Steam Deck into safe mode through developer settings. If your dock outputs 4K 120Hz in safe mode but fails normally, your issue is software related.
This tells you to restart completely or check for conflicts in your settings. If safe mode also fails, the problem lies with your hardware or cables.