
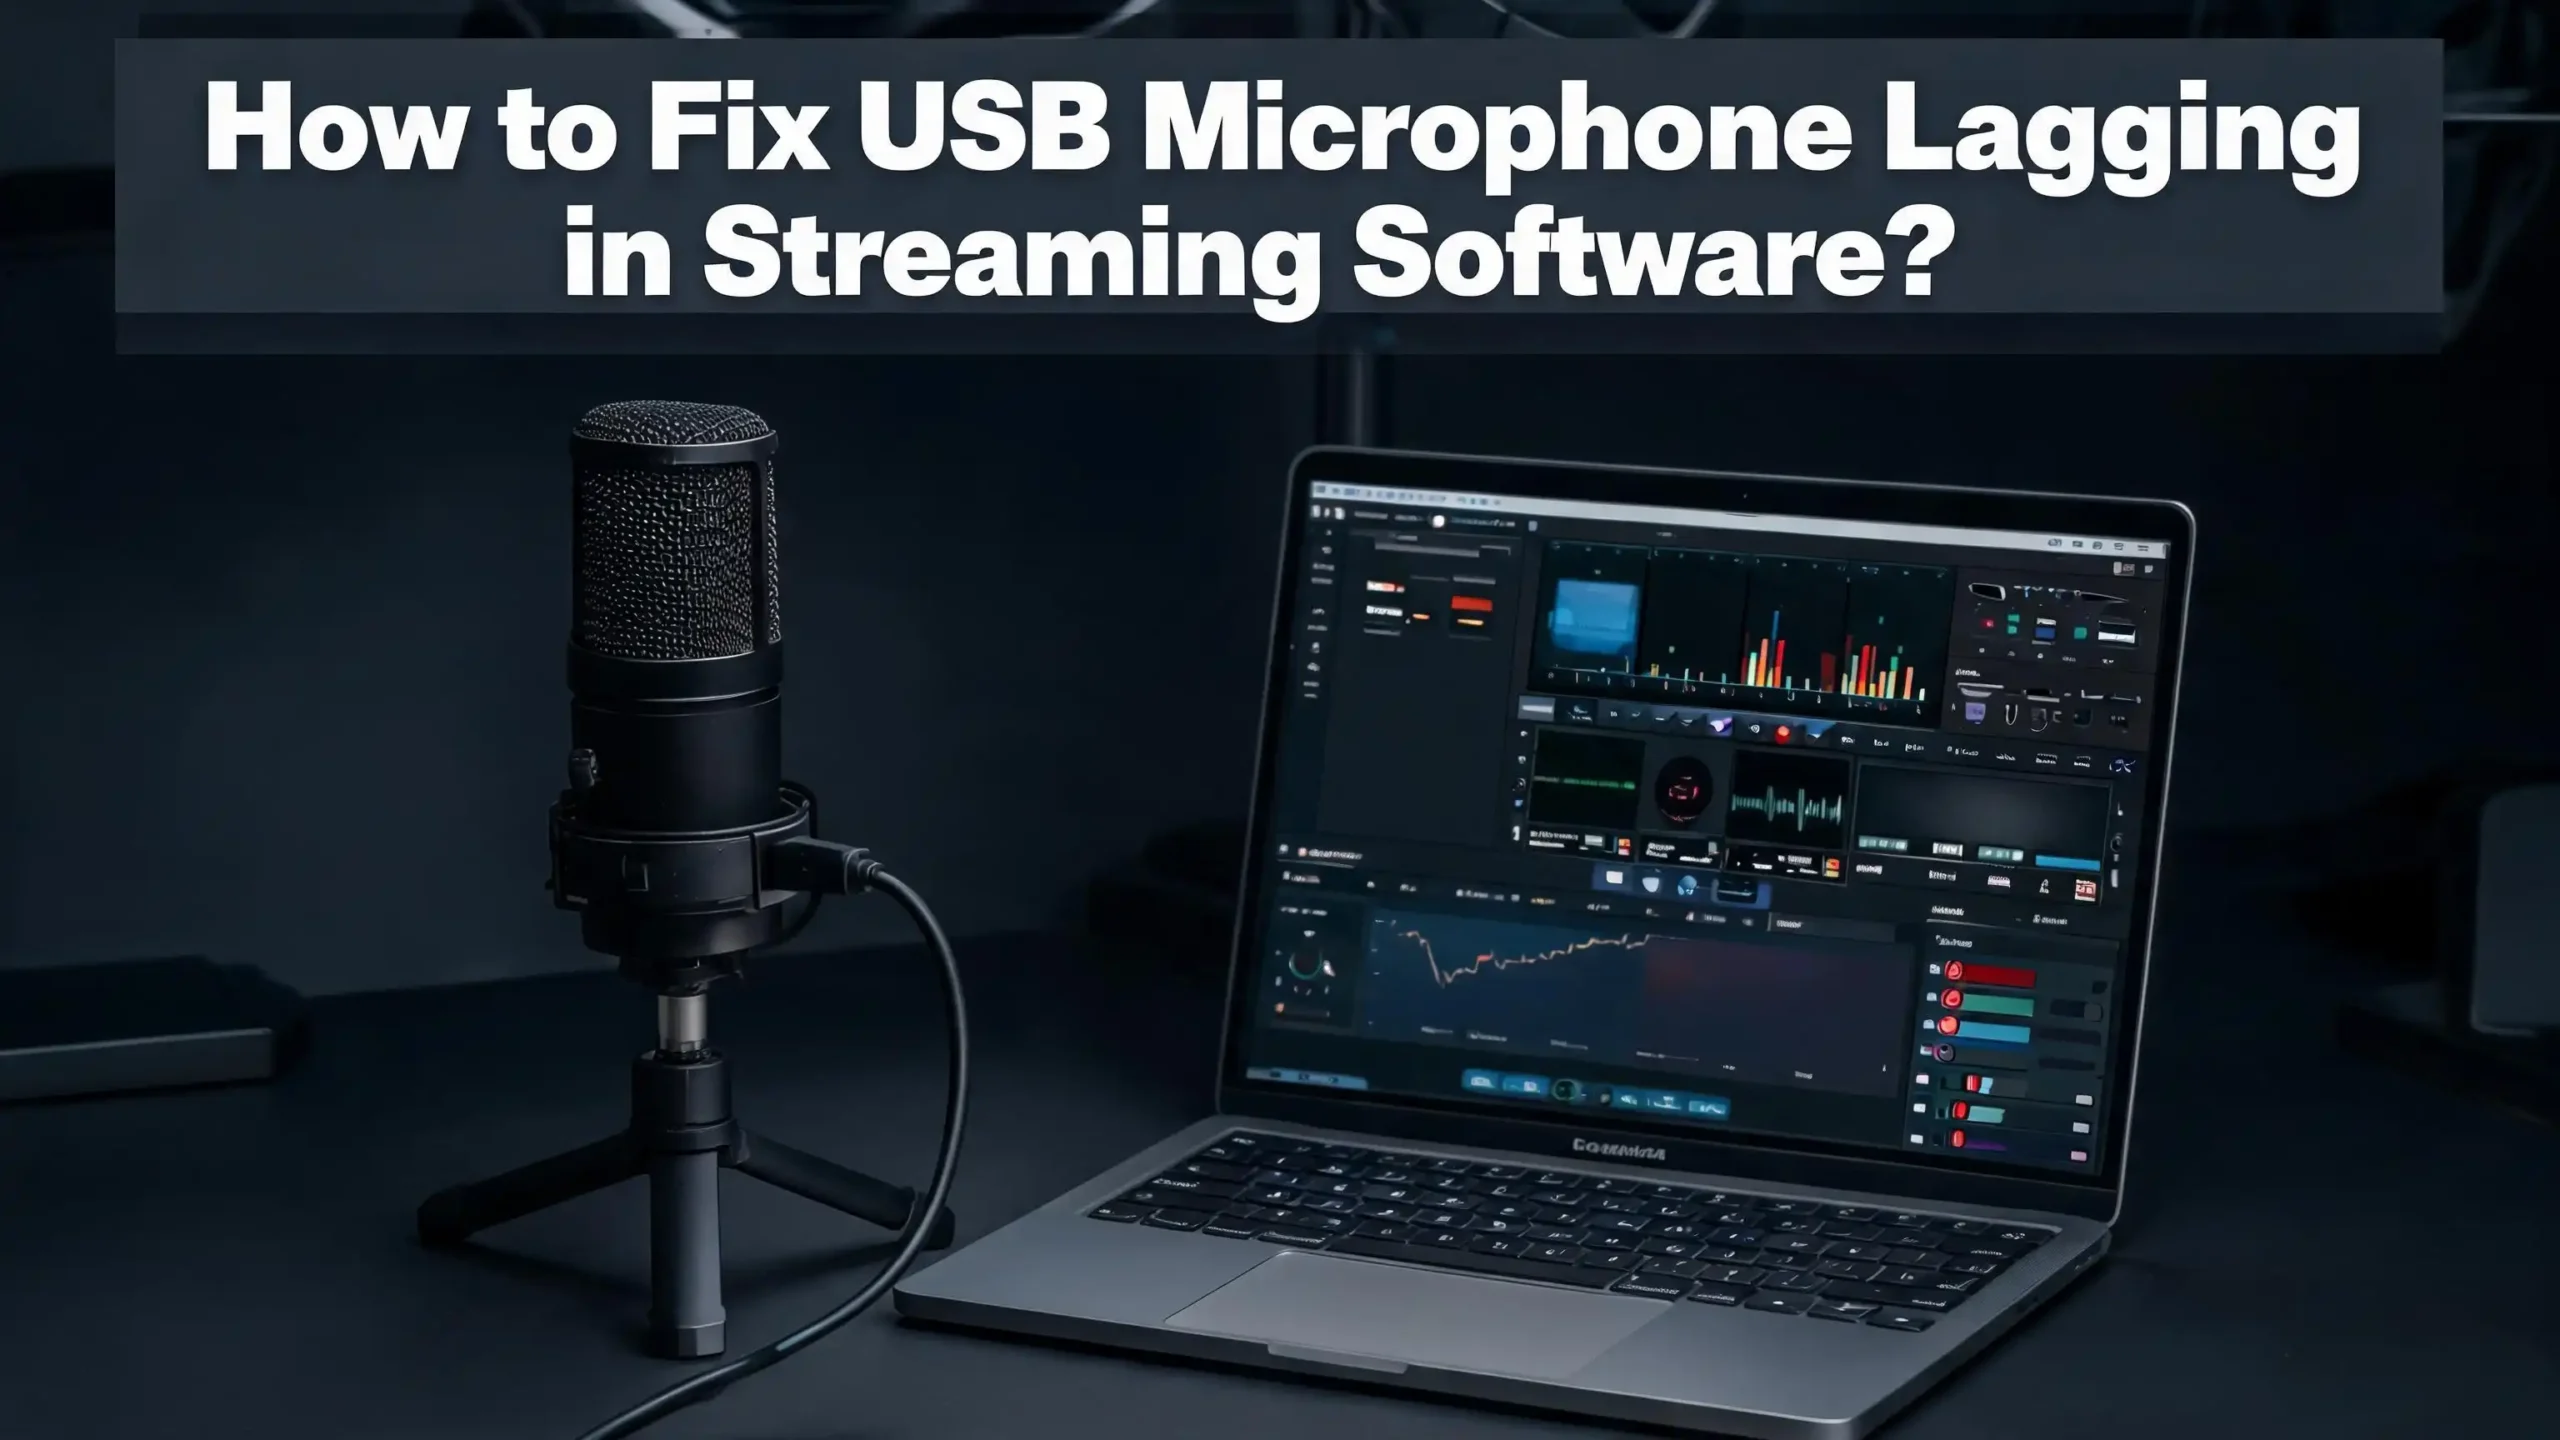
How to Fix USB Microphone Lagging in Streaming Software?
USB microphone lag in streaming software affects thousands of content creators every single day. The delay between speaking into your mic and hearing or seeing the audio output can range from a barely noticeable 20 milliseconds to a painful full second.
The good news? This problem is almost always fixable. The causes are well understood, and the solutions are straightforward.
This guide walks you through every proven fix, from quick settings adjustments to deeper system changes. By the end, you will know exactly what causes your USB mic to lag and how to eliminate that delay for good.
In a Nutshell
- USB microphone lag is caused by the analog to digital conversion process your computer needs time to convert the mic signal into digital audio, and this processing creates a delay called latency. The type of USB port, your computer’s processing power, and your software settings all contribute to how much delay you experience.
- Sample rate mismatches are a leading cause of audio drift in streaming software. If your microphone, Windows sound settings, and streaming software are all set to different sample rates, your audio will gradually fall out of sync over time.
- Buffer size settings directly control latency a smaller buffer means less delay but more strain on your CPU, while a larger buffer means more delay but smoother processing. Finding the right balance is key to lag free streaming.
- OBS Studio’s Advanced Audio Properties contain a Sync Offset tool that lets you manually adjust audio timing in milliseconds to match your video output. This is often the fastest fix for mic lag on your recorded or streamed output.
- Disabling unnecessary audio enhancements and background applications frees up system resources and removes extra processing steps that add latency to your USB microphone signal.
- Using your microphone’s built in headphone jack for monitoring bypasses computer processing entirely, giving you zero latency monitoring while your streaming software handles the audio output separately.
What Causes USB Microphone Lag in Streaming Software
USB microphone lag happens because of a process called analog to digital conversion. Your microphone captures sound waves as an analog signal. Your computer cannot read analog signals directly. So the microphone’s built in converter transforms that analog signal into digital data that your computer can process.
This conversion takes time. Once the digital signal reaches your computer, your operating system processes it through audio drivers. Then your streaming software picks up that processed audio. Each step in this chain adds a small amount of delay. These small delays stack up and create noticeable lag.
Several specific factors make this worse. Your USB controller quality matters. Older USB 2.0 ports on budget motherboards process data slower than newer USB 3.0 ports. Your CPU load plays a role too. If your processor is already working hard to encode video for your stream, audio processing gets pushed to the back of the line.
Your streaming software adds its own processing layer. OBS Studio, Streamlabs, and similar tools apply audio filters, noise suppression, and compression to your microphone input. Each filter adds a few milliseconds of latency. Stack three or four filters together, and you can easily add 50 to 100 milliseconds of extra delay.
The audio buffer is another major contributor. Your computer stores small chunks of audio data in a buffer before processing them. A larger buffer gives your computer more time to process audio without errors, but it also means a longer wait before that audio reaches your stream output.
How to Check if Your USB Microphone Is Actually Lagging
Before you start changing settings, you need to confirm that your USB microphone is actually lagging and measure how much delay exists. A simple clap test is the most reliable method to identify audio sync issues in your stream.
Open your streaming software and start a test recording. Position yourself in front of your camera. Clap your hands sharply three or four times with brief pauses between each clap. Stop the recording and play it back. Watch your hands come together and listen for the clap sound. If the sound arrives after your hands make contact, your audio is lagging behind your video.
You can measure the exact delay using free software like Audacity or your video editor’s timeline. Import your test recording and zoom into the waveform. Find the visual frame where your hands touch and note the timestamp. Then find the audio spike from the clap and note that timestamp. The difference between these two numbers is your latency in milliseconds.
Most viewers will not notice latency below 40 milliseconds. Latency between 40 and 100 milliseconds becomes slightly distracting. Anything above 100 milliseconds is clearly visible and will bother your audience. Professional broadcasters aim for latency under 20 milliseconds for the best viewing experience.
You should also check if the lag is consistent or if it drifts over time. Record a five minute test clip and check the sync at the beginning and end. If the delay grows over time, you likely have a sample rate mismatch. If the delay stays the same throughout, you have a fixed latency issue that is easier to solve.
Match Your Sample Rate Settings Across All Devices
A sample rate mismatch is one of the most common and overlooked causes of USB microphone lag in streaming software. Your microphone, Windows audio settings, and streaming software each have their own sample rate setting. If these numbers do not match, your audio will drift out of sync over time.
The sample rate tells your system how many audio samples to capture per second. Common sample rates include 44100 Hz and 48000 Hz. Most streaming software defaults to 48000 Hz. Your USB microphone might default to 44100 Hz. When these do not match, your computer has to resample the audio in real time, which introduces delay and causes gradual drift.
Here is how to fix this on Windows. Right click the speaker icon in your taskbar. Select “Sound settings” or “Open Sound settings.” Click on your USB microphone under the Input section. Open “Device properties” and then “Additional device properties.” Go to the Advanced tab. Set the default format to match your streaming software. If OBS is set to 48000 Hz, set your microphone to 48000 Hz here as well.
Do the same for your output device. Your headphones or speakers should also match this sample rate. Open the Playback tab in Sound settings, find your output device, and set it to the same rate. Every device in your audio chain should use the same sample rate.
In OBS Studio, go to Settings, then Audio. Check the Sample Rate dropdown at the top. Make sure it reads the same value you set in Windows. This single fix resolves audio drift issues for a large number of streamers.
Adjust the Audio Buffer Size for Lower Latency
The audio buffer is a temporary storage area where your computer holds audio data before processing it. A larger buffer gives your CPU more breathing room but adds more delay. A smaller buffer reduces delay but demands more from your processor. Finding the sweet spot is essential for lag free streaming.
Most USB microphones use standard Windows audio drivers, which set the buffer size automatically. You can override this in your streaming software or through third party driver tools. In OBS Studio, the buffer is managed internally, but you can influence it through your system’s audio driver settings.
If you use an audio interface or a USB microphone with ASIO driver support, open your ASIO control panel. You will find a buffer size setting measured in samples. Common values include 64, 128, 256, and 512 samples. At 48000 Hz, a buffer of 128 samples gives you about 2.7 milliseconds of latency. A buffer of 512 samples gives you about 10.7 milliseconds.
Start with a buffer size of 256 samples if you are unsure. Test your stream for audio glitches like crackling, popping, or dropouts. If your audio sounds clean, try reducing to 128 samples. If you hear artifacts, increase the buffer until the audio plays smoothly. The goal is to find the lowest buffer size your system can handle without audio errors.
For USB microphones without ASIO support, you can install ASIO4ALL, a free universal ASIO driver for Windows. This driver gives you direct control over buffer size for any audio device. Install it, open the ASIO4ALL control panel, select your USB microphone, and adjust the buffer slider to a lower value.
Use the Sync Offset Feature in OBS Studio
OBS Studio includes a built in tool called Sync Offset that lets you manually adjust audio timing for any source. This feature shifts your microphone audio forward or backward in milliseconds relative to your video. It is the fastest way to correct a consistent audio delay in your stream output.
To access this feature, right click on the Audio Mixer panel at the bottom of OBS Studio. Select “Advanced Audio Properties.” A new window will open showing all your audio sources. Find your USB microphone in the list. You will see a column labeled “Sync Offset (ms).”
Enter a positive or negative value to shift your audio. If your microphone audio arrives late compared to your video, enter a negative value. This tells OBS to shift the audio earlier. If your audio arrives too early, enter a positive value. Start with small adjustments like 50 or 100 milliseconds and test each change with a short recording.
Use your clap test recordings to determine the exact offset. If your clap test showed a 150 millisecond delay, enter a value of negative 150 in the Sync Offset field. Play back a new test recording to verify the adjustment. Fine tune the number until your audio and video match perfectly.
One important detail to remember is that Sync Offset only affects your stream and recording output. It does not change what you hear in your monitoring headphones. If you are monitoring through OBS, the delay will still be present in your ears. This fix is specifically for your audience’s experience, which is what matters most during a live stream.
Disable Audio Enhancements in Windows
Windows applies various audio processing effects to your microphone signal by default. These enhancements include noise suppression, echo cancellation, and acoustic echo correction. Each enhancement adds processing time to your audio signal, which increases latency on your USB microphone.
To disable these enhancements, right click the speaker icon in your Windows taskbar. Select “Sounds” or “Sound settings.” Navigate to the Recording tab. Find your USB microphone in the device list and double click it. Go to the “Advanced” tab and look for the option labeled “Enable audio enhancements.” Uncheck this box.
On some systems, you will find a separate “Enhancements” tab instead. Open it and check the box that says “Disable all enhancements” or “Disable all sound effects.” Click Apply and then OK. This removes the extra processing Windows applies before passing your audio to streaming software.
Windows 11 handles this slightly differently. Go to Settings, then System, then Sound. Click on your USB microphone under Input. Scroll down to find “Audio enhancements” and set it to “Off.” This setting is easier to find in Windows 11 but serves the same purpose.
After disabling enhancements, test your microphone in your streaming software. You should notice a reduction in latency. Your audio might sound slightly different without the built in noise suppression, but you can add better noise suppression directly in OBS or Streamlabs. Software like OBS provides its own noise suppression filter powered by RNNoise, which is more efficient and adds less latency than the Windows built in version.
Close Background Applications That Hog CPU Resources
Your CPU handles everything during a live stream. It encodes video, processes audio, runs your streaming software, and manages your game or content. When your CPU is overloaded, audio processing gets delayed because the system cannot keep up with all tasks at once. This directly causes USB microphone lag.
Open Task Manager by pressing Ctrl plus Shift plus Escape. Click the “CPU” column header to sort processes by CPU usage. Look for applications that consume a large percentage of your CPU. Common offenders include web browsers with many tabs open, cloud sync services like Google Drive or Dropbox, antivirus scans running in the background, and automatic Windows updates.
Close any application you do not need while streaming. Right click the process in Task Manager and select “End Task.” For programs that start automatically, go to the Startup tab in Task Manager and disable them. This prevents them from launching when you boot your computer.
Pay special attention to other audio applications. Music players, voice chat apps like Discord, and video conferencing tools all compete with your streaming software for audio driver access. If you use Discord while streaming, make sure its voice processing settings are optimized. Disable Discord’s built in noise suppression, echo cancellation, and automatic gain control to reduce CPU load.
You should also check your OBS encoder settings. Using hardware encoding (NVENC for NVIDIA or AMF for AMD) instead of software encoding (x264) dramatically reduces CPU usage. Go to OBS Settings, then Output, and change the encoder from x264 to your GPU’s hardware encoder. This frees up your CPU to process audio without delays.
Update or Reinstall Your USB Microphone Drivers
Outdated or corrupted drivers cause many USB microphone lag problems. Your operating system uses drivers to communicate with your USB microphone. Bad drivers lead to slow data transfer, processing errors, and increased latency between your mic and your streaming software.
Open Device Manager by right clicking the Start button and selecting “Device Manager.” Expand the “Audio inputs and outputs” section. Find your USB microphone in the list. Right click it and select “Update driver.” Choose “Search automatically for drivers” and let Windows look for a newer version.
If Windows says your driver is already up to date, visit the manufacturer’s website for your microphone. Download the latest driver package directly from the manufacturer. Many popular USB microphones from brands like Blue, Rode, and Elgato have dedicated driver downloads on their support pages. Install the manufacturer’s driver, restart your computer, and test your microphone again.
Sometimes a clean reinstall fixes problems that updates cannot. In Device Manager, right click your USB microphone and select “Uninstall device.” Check the box to delete the driver software. Unplug your microphone. Restart your computer. Plug your microphone back in. Windows will detect it as a new device and install fresh drivers.
You should also update your USB controller drivers. These manage all USB ports on your motherboard. Expand “Universal Serial Bus controllers” in Device Manager. Right click each entry and update the drivers. Motherboard manufacturers often release updated USB controller drivers that improve data transfer speed and reduce latency for all connected USB devices.
Try a Different USB Port on Your Computer
Not all USB ports on your computer perform the same way. Different ports connect to different USB controllers inside your motherboard. Some controllers handle data faster than others. A microphone plugged into a slow or overloaded USB port will experience more lag than one plugged into a fast, dedicated port.
USB 3.0 and USB 3.1 ports (usually colored blue or red) transfer data faster than USB 2.0 ports (usually white or black). While USB microphones technically do not need USB 3.0 bandwidth, the controllers behind USB 3.0 ports are often newer and more efficient at handling data.
Avoid plugging your USB microphone into a USB hub. Hubs share bandwidth among all connected devices. If you have a webcam, keyboard, mouse, and microphone all running through the same hub, they compete for data transfer time. This competition adds latency. Plug your microphone directly into a port on your computer’s motherboard or case.
Try each available USB port on your computer one at a time. After each switch, run a clap test recording to measure latency. You might find that one particular port gives noticeably lower latency than others. Once you find the best port, make it your dedicated microphone port and avoid using it for anything else.
Front panel USB ports on desktop computers often perform worse than rear panel ports. The front panel ports connect to the motherboard through internal cables that can introduce slight signal degradation. Rear USB ports connect directly to the motherboard and typically provide the cleanest, most stable connection for audio devices.
Configure Exclusive Mode for Your USB Microphone
Windows lets applications take exclusive control of audio devices through a feature called Exclusive Mode. When your streaming software has exclusive access to your USB microphone, no other application can interfere with the audio signal. This reduces latency because your system does not need to mix your microphone audio with other application audio before processing it.
To enable Exclusive Mode, right click the speaker icon in your Windows taskbar. Open “Sounds” or “Sound settings.” Go to the Recording tab. Double click your USB microphone. Select the “Advanced” tab. You will see two checkboxes under “Exclusive Mode.” The first says “Allow applications to take exclusive control of this device.” The second says “Give exclusive mode applications priority.”
Check both boxes and click Apply. This tells Windows to let your streaming software bypass the shared audio mixer and communicate directly with your USB microphone. The shared audio mixer adds an extra processing step that increases latency. Exclusive Mode removes that step.
After enabling Exclusive Mode, open your streaming software and test your microphone. You should measure a noticeable reduction in latency compared to shared mode. Note that while Exclusive Mode is active for your streaming software, other applications cannot access your microphone simultaneously.
If you need multiple applications to use your microphone at the same time (for example, streaming software and Discord), Exclusive Mode may not work for your setup. In that case, leave Exclusive Mode off and focus on other latency reduction methods from this guide. Some streamers solve this by using a virtual audio cable to split their microphone signal, but that adds a small amount of latency itself.
Reduce OBS Studio Filters on Your Microphone Input
Every audio filter you apply to your USB microphone in OBS Studio adds processing time. Noise suppression, compression, gain, and noise gates all require CPU cycles to process your audio in real time. Stacking multiple filters creates a cumulative delay that contributes to your overall microphone lag.
Open OBS Studio and click the gear icon next to your microphone in the Audio Mixer. Select “Filters.” Review the list of filters you currently have applied. Each filter in this list adds a small amount of latency, usually between 2 and 20 milliseconds depending on the filter type and your CPU speed.
The noise suppression filter is often the biggest offender. OBS offers two noise suppression methods. The Speex method is lighter on your CPU but less effective. The RNNoise method provides better noise removal but uses more processing power. If you are experiencing lag, try switching from RNNoise to Speex, or remove noise suppression entirely and control background noise through physical solutions like closing your door or using a microphone isolation shield.
Remove any filters you do not absolutely need. Many streamers add a compressor, a noise gate, and noise suppression by default without testing whether they actually need all three. Try streaming with just one filter at a time and see if your audio quality remains acceptable.
If you need multiple filters, consider the order. Place noise gate first, then noise suppression, then compression. This order minimizes the amount of audio data each subsequent filter needs to process. A noise gate that cuts silence early means the noise suppression filter does less work during quiet moments, which reduces overall CPU load.
Use Direct Monitoring Through Your Microphone’s Headphone Jack
Many USB microphones include a built in headphone jack on the microphone body itself. This headphone output provides zero latency monitoring because the audio signal goes straight from the microphone’s capsule to your headphones without passing through your computer first.
Plug your headphones into the headphone jack on your USB microphone instead of into your computer’s audio output. You will hear your voice in real time with absolutely no delay. This is the same monitoring approach professional recording studios use, just built into a smaller, simpler device.
The trade off is that you will only hear your raw microphone audio through this connection. Any filters or effects you apply in OBS Studio will not be audible in your direct monitoring headphones. You will also need a way to hear your computer’s desktop audio, game sounds, and chat. Some USB microphones include a mix knob that blends your mic audio with your computer’s output. This lets you hear both your voice and your desktop audio through the same headphones.
If your microphone does not have a headphone jack, consider routing your audio differently. You can set your streaming software to output monitoring audio through your computer’s audio output while your microphone handles input only. This does not give you zero latency monitoring for your voice, but it separates your audio paths and can reduce overall system load.
This approach solves the monitoring lag problem completely. Your audience still receives properly synced audio through your stream because OBS processes and syncs the audio on the output side. You hear yourself in real time through direct monitoring, and your viewers hear processed, synced audio through the stream.
Check Your Streaming Software’s Audio Settings
Each streaming application has internal audio settings that affect latency. These settings control how the software captures, processes, and outputs your USB microphone audio. Incorrect settings here can add significant delay even if everything else in your system is properly configured.
In OBS Studio, go to Settings and select Audio. Check the “Sample Rate” setting and confirm it matches your Windows and microphone settings as discussed earlier. Below that, find the “Channels” setting. Set this to Stereo unless you have a specific reason to use Mono. Some configurations cause extra processing on Mono to Stereo conversion.
Look for the “Buffering Time” or similar setting in your streaming software. Streamlabs and other OBS forks may label this differently. A lower buffering time reduces delay but increases the chance of audio glitches. Start with the default value and reduce it gradually while testing for audio quality.
In OBS Studio, check the “Use Device Timestamps” option. Right click your Audio Mixer, open Advanced Audio Properties, and look for the timestamp checkbox. If your audio drifts out of sync over time, try unchecking “Use Device Timestamps.” This forces OBS to use its own internal clock for audio timing instead of relying on your microphone’s clock. This fix resolves drift issues for many USB microphones that report inaccurate timestamps.
Also verify that your streaming software is set to the correct audio device. Sometimes Windows changes the default recording device after an update, and your streaming software might silently switch to a different input. Manually select your USB microphone by name in your software’s audio input settings instead of relying on “Default” to prevent this issue.
When to Consider an Audio Interface Instead
If you have tried every software fix in this guide and still experience unacceptable lag, your USB microphone’s built in audio converter might be the bottleneck. Dedicated audio interfaces use higher quality converters and optimized drivers that deliver much lower latency than most USB microphones can achieve on their own.
An audio interface sits between your microphone and your computer. It handles the analog to digital conversion with specialized hardware designed for low latency performance. Most audio interfaces include native ASIO drivers that bypass the Windows audio stack entirely. This removes multiple layers of processing that add delay to USB microphones.
With an audio interface, you can expect latency as low as 1 to 3 milliseconds. Most USB microphones deliver latency between 10 and 30 milliseconds at best. For streamers who also produce music, podcasts, or voiceover work, an audio interface provides better audio quality and lower latency across all applications.
The switch does require a different type of microphone. USB microphones have their converter built in, so they cannot connect to an audio interface. You would need an XLR microphone instead. Many excellent XLR microphones are available at similar price points to popular USB models.
An audio interface also gives you direct hardware monitoring. This means zero latency headphone monitoring that includes any hardware effects the interface provides, such as reverb or EQ. You hear exactly what your audience hears with no delay. This is the ultimate solution for streamers who need perfect audio sync and real time monitoring.
Frequently Asked Questions
Why does my USB microphone lag only in OBS Studio but not in other applications?
OBS Studio applies its own audio processing pipeline on top of your Windows audio settings. The lag you experience in OBS might come from audio filters, incorrect sample rate settings within OBS, or the software’s internal buffering. Other applications may use a simpler audio path with fewer processing steps. Check your OBS audio settings and remove unnecessary filters to reduce the delay.
Can a slow computer cause USB microphone lag in streaming software?
Yes. Your CPU processes all audio data from your USB microphone. If your CPU is overloaded from encoding video, running games, and handling other tasks at the same time, audio processing gets delayed. Switching to hardware encoding (NVENC or AMF) instead of software encoding (x264) frees up CPU resources and often reduces or eliminates microphone lag.
What is the best sample rate setting for streaming with a USB microphone?
48000 Hz (48 kHz) is the standard sample rate for streaming and video production. Set this rate in your Windows sound settings, your microphone’s device properties, and your streaming software. Matching all three prevents the resampling process that causes audio drift and added latency over time.
Does USB 3.0 reduce microphone latency compared to USB 2.0?
USB microphones do not require USB 3.0 bandwidth to transfer audio data. However, USB 3.0 ports often connect to newer, more efficient controllers on your motherboard. Plugging your microphone into a USB 3.0 port may reduce latency slightly because of better controller performance, not because of faster data transfer speeds.
How much microphone latency is acceptable for live streaming?
Most viewers cannot detect audio lag below 40 milliseconds. Latency between 40 and 100 milliseconds is slightly noticeable but tolerable for most audiences. Anything above 100 milliseconds becomes clearly distracting and should be fixed. Professional streamers aim for latency under 20 milliseconds for the smoothest viewer experience.
Will using a virtual audio cable fix USB microphone lag?
Virtual audio cables like VoiceMeeter or VB Audio Cable route audio between applications. They do not fix latency caused by your USB microphone’s conversion process. In fact, virtual audio cables can add a small amount of extra latency because they create an additional processing step. They are useful for routing audio between apps but should not be your first choice for solving lag issues.